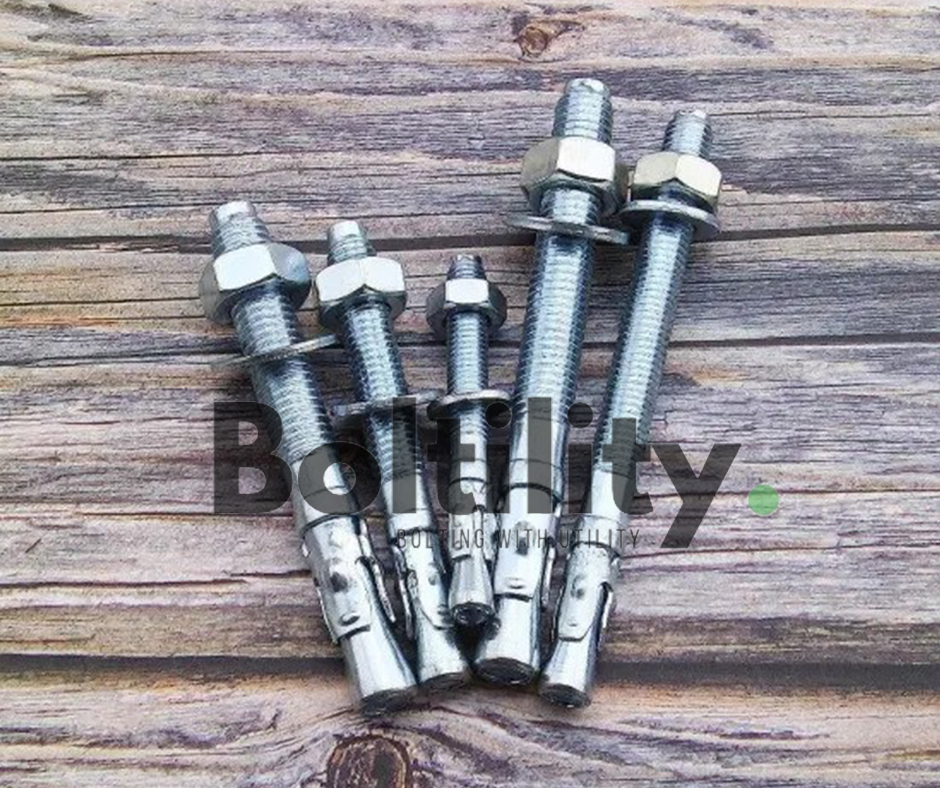
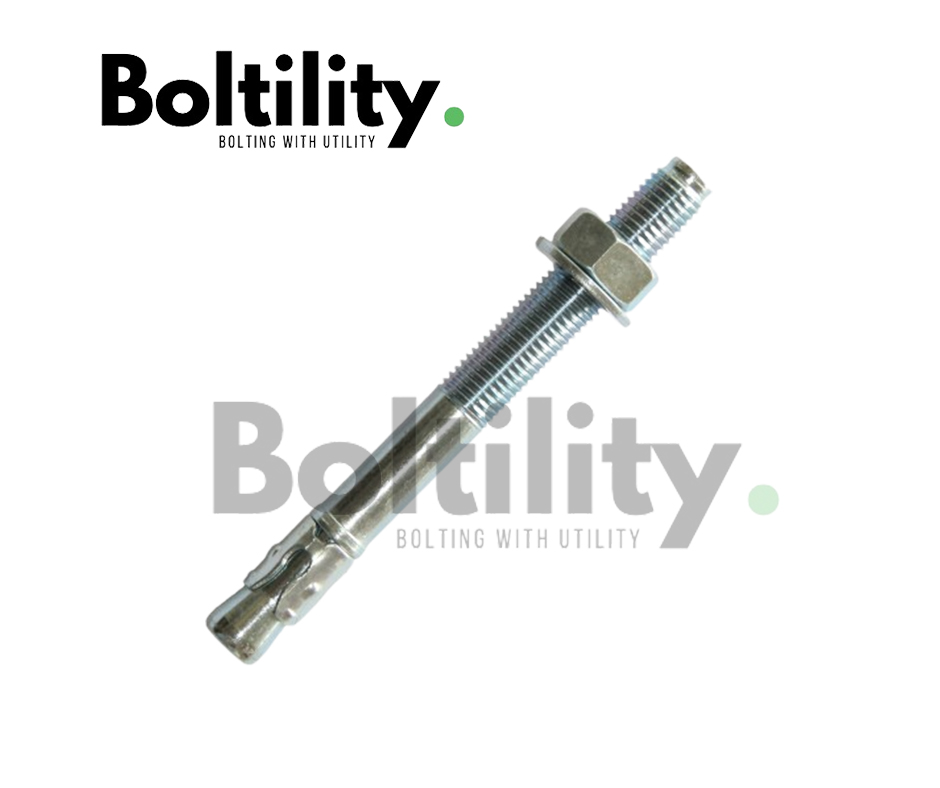
Wedge anchor are a popular choice for securing heavy loads into solid materials like concrete. When installed correctly, they offer exceptional holding power and stability, making them ideal for both industrial and residential construction projects. This guide will walk you through the steps to ensure a successful installation while highlighting key factors that maximize the strength and stability of wedge anchors.
What Are Wedge Anchor?
Before diving into the installation process, it’s important to understand what wedge anchors are. A wedge anchor is a mechanical fastener used to attach objects to solid materials such as concrete. The design of the anchor includes an expansion clip that locks into the base material when the anchor is tightened, creating a secure hold. These anchors are commonly used in heavy-duty applications such as securing structural steel, machinery, handrails, and shelving systems.
Why Proper Installation Matters
Improper installation of wedge anchors can lead to structural failure, reduced load capacity, and safety risks. Ensuring maximum strength and stability requires careful attention to the installation process, as well as selecting the right size and type of wedge anchor for the application.
Step-by-Step Guide to Installing Wedge Anchor
Step 1: Choose the Right Size of Wedge Anchor
The first step in any successful installation is selecting the appropriate size of wedge anchor for the job. The diameter and length of the anchor depend on the thickness of the material you’re anchoring into and the load requirements. Generally, larger-diameter anchors provide higher holding power. However, using an anchor that’s too large or too small can compromise the stability of the installation.
Tip: Always refer to the manufacturer’s specifications to determine the correct size for your application. In addition, consider the environmental conditions, such as whether the installation will be exposed to moisture, which may require stainless steel or galvanized anchors to prevent corrosion.
Step 2: Drill the Hole
Once you’ve selected the appropriate wedge anchor, it’s time to drill the hole. Follow these steps:
- Mark the Location: Use a marker to mark the exact spot where you plan to install the anchor. Ensure the location is level and aligned with the load requirements.
- Choose the Right Drill Bit: The diameter of the drill bit should match the diameter of the wedge anchor. Using the wrong size bit can lead to a loose or overly tight fit, reducing the anchor’s holding power.
- Drill the Hole to the Correct Depth: The depth of the hole should be slightly deeper than the length of the wedge anchor. This allows room for any debris that may accumulate at the bottom of the hole and ensures the anchor can be fully inserted. You can mark the drill bit with tape to indicate the correct depth.
- Use a Hammer Drill: Since you’re drilling into concrete, use a hammer drill with a carbide-tipped masonry bit. A hammer drill will help you create a clean, straight hole, which is crucial for ensuring the stability of the anchor.
- Keep the Drill Steady: Ensure the drill is perpendicular to the surface to avoid creating an angled hole. An angled hole can reduce the wedge anchor’s effectiveness and cause it to pull out under load.
Step 3: Clean Out the Hole
Debris left in the hole can prevent the wedge anchor from fully expanding, reducing its holding power. After drilling, use a vacuum, air blower, or a brush to thoroughly clean out the hole. Removing all dust and particles is essential to ensure a strong bond between the wedge anchor and the concrete.
Step 4: Insert the Wedge Anchor
With the hole clean and ready, it’s time to insert the wedge anchor.
- Place the Anchor into the Hole: Insert the wedge anchor into the drilled hole with the threaded end sticking out. The anchor should slide in smoothly. If it’s difficult to insert, the hole may not be deep or wide enough, and you’ll need to redrill.
- Tap the Anchor with a Hammer: Lightly tap the anchor with a hammer until it’s flush with the surface of the material. Be gentle to avoid damaging the anchor or the material.
Step 5: Tighten the Wedge Anchor
The wedge anchor is now ready to be tightened.
- Place the Fixture: If you’re securing a fixture, place it over the exposed end of the anchor and then thread a washer and nut onto the anchor.
- Tighten the Nut: Use a wrench or socket to tighten the nut. As you tighten the nut, the wedge anchor’s expansion clip will press against the sides of the hole, creating a secure bond with the concrete. Be careful not to overtighten, as this could strip the threads or cause the anchor to lose its grip.
- Check the Torque: Refer to the manufacturer’s specifications for the recommended torque level. Over-tightening can lead to damage, while under-tightening can result in a weak hold.
Step 6: Test the Installation
After installation, it’s a good practice to test the anchor’s holding power, especially for safety-critical applications. You can perform a pull-out test to confirm the anchor’s capacity to withstand the required loads. Testing ensures that the wedge anchors are properly installed and can handle the forces they’ll encounter in real-world conditions.
View Product Wedge Anchor
Factors that Affect Wedge Anchor Performance
While wedge anchors are generally reliable, certain factors can affect their performance. To maximize the strength and stability of your installation, consider the following:
1. Concrete Quality
The quality of the concrete you’re anchoring into plays a significant role in how well the wedge anchor holds. Cracked or weak concrete may reduce the anchor’s load-bearing capacity. If the concrete is not in good condition, consider using a chemical anchor or a different anchoring method designed for weak substrates.
2. Environmental Conditions
Wedge anchors can be affected by environmental conditions such as moisture, extreme temperatures, or exposure to chemicals. For installations in wet or corrosive environments, choose stainless steel or galvanized wedge anchors to prevent rust and degradation over time.
3. Edge Distance and Spacing
The distance between wedge anchors and the edge of the concrete or between multiple anchors is critical for ensuring stability. Too close to the edge, and the concrete may crack under load. Always follow the manufacturer’s guidelines for edge distance and spacing between anchors to avoid weakening the concrete or reducing the anchor’s performance.
4. Vibration and Dynamic Loads
In environments where the anchor will be subjected to vibration or dynamic loads, such as in machinery or equipment installations, the anchor must be able to withstand repeated stress without loosening. Consider using lock nuts or thread-locking compounds to prevent loosening over time.
Conclusion
Wedge anchors are an essential tool in construction, offering a reliable way to secure heavy loads to solid materials like concrete. However, the strength and stability of the anchor depend on proper installation. By following this step-by-step guide, you’ll ensure that your wedge anchors are installed correctly and can handle the load requirements of your project.
To summarize:
- Choose the right size of wedge anchor based on the load and material.
- Drill the hole to the proper depth and clean it thoroughly.
- Insert the wedge anchor and tighten the nut to the manufacturer’s recommended torque.
- Test the installation to verify the anchor’s holding power.
Proper installation not only ensures the safety of your construction but also extends the longevity and reliability of the wedge anchor system. Following these best practices will help you achieve maximum strength and stability in your wedge anchor installations, whether in industrial, commercial, or residential settings.
View Product Wedge Anchor


