
Below is the full article for “Step-by-Step Guide: How to Install Self Drilling Screws Properly for Maximum Grip” — written clean, clear, and SEO-friendly.
Step-by-Step Guide: How to Install Self Drilling Screws Properly for Maximum Grip
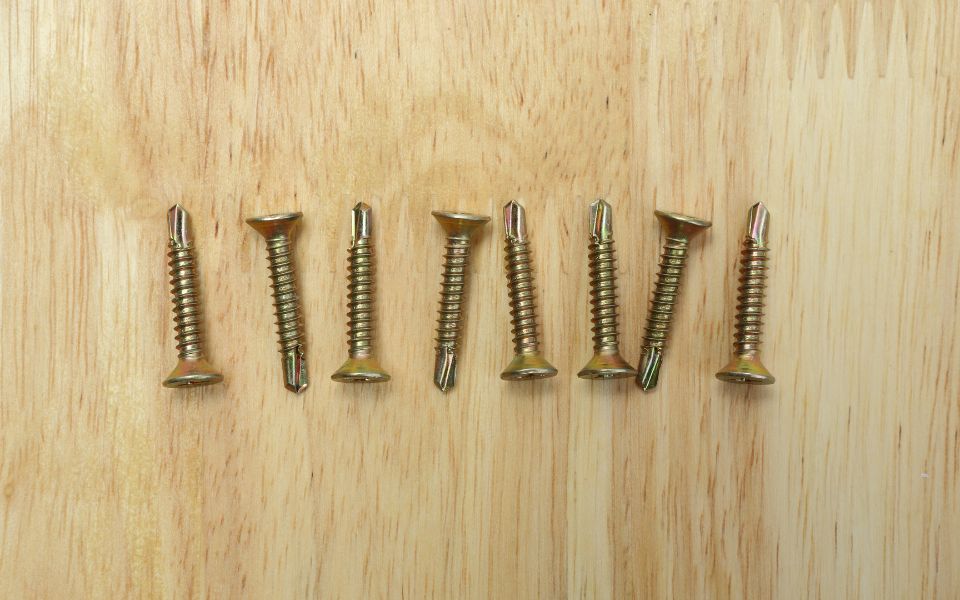
Self drilling screw are one of the most convenient fasteners used in metalworking, roofing, fabrication, and general construction. Their built-in drill point eliminates the need for pre-drilling, helping you work faster and achieve secure, long-lasting fastening.
However, proper installation techniques are essential to avoid stripping, breakage, or weak connections. This guide explains the correct way to install self drilling screws to achieve maximum grip, strength, and durability.
What Are Self Drilling Screws?
Self drilling screws are fasteners with two functions:
-
Drill their own pilot hole, thanks to the pointed drill tip
-
Tap their own threads, creating a secure hold
They are commonly used for:
-
Metal to metal fastening
-
Metal to wood applications
-
Roofing and cladding work
-
HVAC and ducting installations
-
General fabrication
1. Choose the Right Self Drilling Screw
Using the correct screw is the first step to ensuring strong fastening.
✔ Material
-
Zinc-plated – indoor use, corrosion-resistant
-
Stainless Steel – outdoor, marine, roofing
-
Coated (Ruspert, Epoxy) – high corrosion resistance for construction
✔ Head Type
-
Hex Head – best for metal and roofing
-
Pan/Truss Head – ducting, light materials
-
Countersunk Head – flush finishing on wood or composite
✔ Drill Point Size
-
No.1 to No.5 drill points
-
Thicker metal requires higher drill point numbers
2. Use the Correct Tools
The following tools ensure smooth installation:
✔ Power drill or impact driver
Use moderate torque to avoid overdriving.
✔ Correct bit size
Match the bit to the screw head — improper fit causes cam-out and stripping.
✔ Safety Equipment
Gloves and safety glasses to protect from metal shavings.
3. Prepare the Surface
Even though self drilling screws do not require pilot holes, clean surfaces create better grip.
✔ Remove rust, dust, or loose paint
✔ Ensure metal sheets overlap correctly
✔ Check alignment before driving the screw
A well-prepared surface reduces wobbling and ensures a tight connection.
4. Drill at the Right Angle
This is one of the most important steps.
✔ Keep the screw at a 90° angle
Driving at an angle weakens the grip and may cause slippage or uneven threading.
Hold the drill steady and keep consistent pressure throughout the drilling process.
5. Apply Steady, Controlled Pressure
Let the screw’s drill tip do the work.
⭐ Tips for maximum grip:
-
Start slow to allow the tip to drill cleanly
-
Increase speed gradually as the threads engage
-
Do not force the screw — excessive pressure can break the tip
-
Listen for metal penetration; once through, allow the threads to pull in naturally
6. Avoid Overdriving the Screw
Over-tightening is a common mistake that reduces the screw’s holding power.
✔ Stop once the washer is snug (for roofing screws)
✔ Avoid crushing the sheet metal
✔ If the screw spins freely, it may be stripped
A properly installed self drilling screw should sit firmly, with no gaps or movement.
7. Inspect the Final Connection
After installation, check the fastened area:
✔ Screw sits straight
✔ Washer is compressed evenly (not crushed)
✔ No metal burrs or sharp edges around the hole
✔ For roofing: rubber washer fully seals the surface
Proper inspection ensures long-term durability and weather resistance.